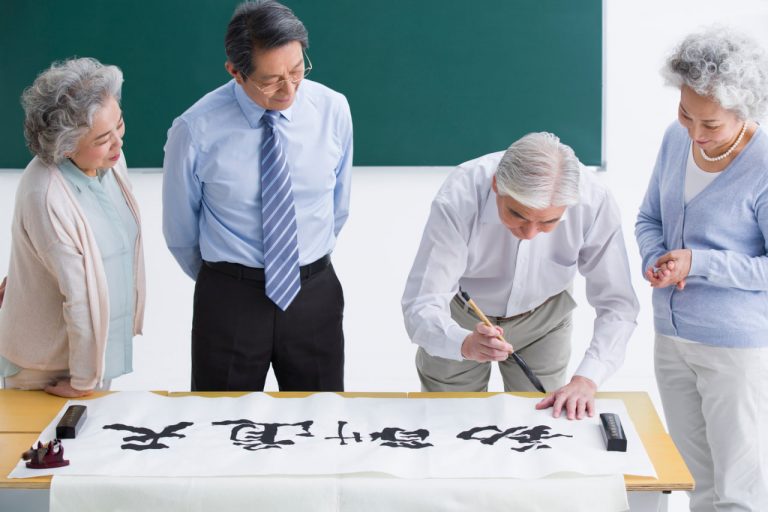
Beginning your calligraphy journey is exciting, but the number of tools and materials available can quickly become overwhelming. Understanding what each tool does and why it’s used is key to building a solid foundation. Whether you’re diving into traditional scripts or modern hand lettering, having the right tools will set you up for success and make practice more enjoyable. Here’s a breakdown of what every beginner truly needs.
Choosing the Right Paper
Good paper is one of the most overlooked essentials for calligraphy. The wrong paper can bleed, feather, or fray your pen tips, making even the best efforts look messy.
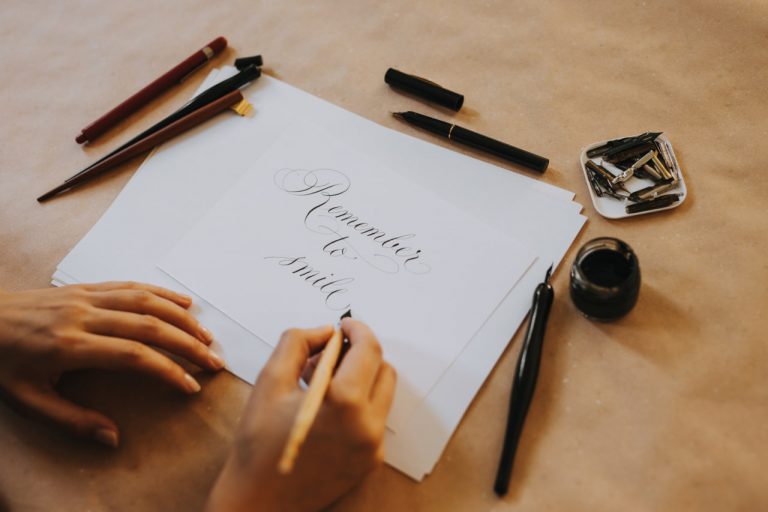
For pointed pen calligraphy, smooth, bleed-proof paper is ideal. Look for options labeled as “marker paper” or “bristol” if you’re using dip pens or brush pens. These surfaces allow your tools to glide without friction and prevent ink from soaking through.
If you’re working with brush pens, high-quality, smooth paper will protect the tips from damage. Avoid regular printer paper, which can quickly wear out brush nibs and make it difficult to control your strokes.
Essential Pens and Nibs
The type of pen you choose depends on the style of calligraphy you want to pursue.
For modern brush lettering, brush pens are a great starting point. These come in various sizes and flexibility levels. Beginners may want to start with a medium-firm brush tip, which is easier to control than a very soft or large one.
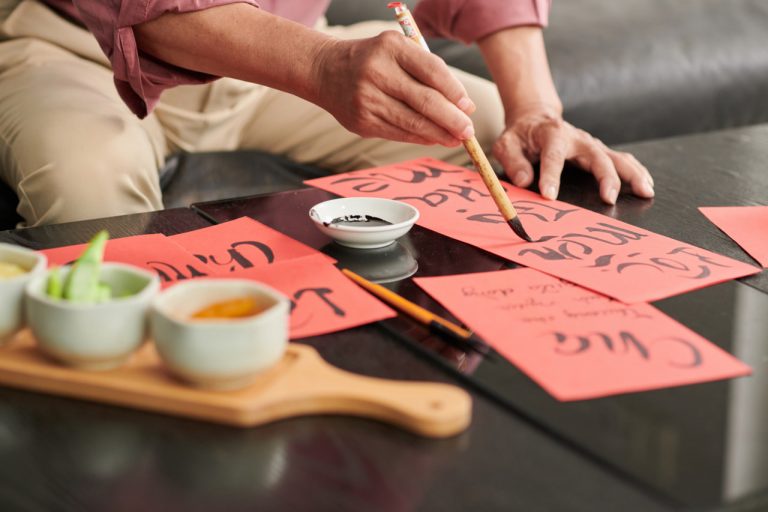
For traditional calligraphy, like Copperplate or Spencerian, a dip pen with a pointed nib is essential. These pens require dipping into ink but offer the kind of elegant line variation that defines classic styles.
Italic or Gothic styles use a broad-edge nib, which creates thick and thin strokes based on the angle of the pen.
You don’t need to own every type of pen at the start. Begin with one style and tool, then expand as you discover your preferences.
Ink Options for Dip Pens
If you’re working with dip pens, ink choice matters. Calligraphy ink should be free-flowing, richly pigmented, and quick-drying on the page. Avoid India ink with dip pens unless it’s specifically labeled as safe, as it can clog and damage metal nibs.
For beginners, bottled calligraphy inks designed for dip pens are ideal. Start with black ink to focus on technique before branching into colors and metallics. Always remember to stir the ink well before use and clean your nibs after each session.
Pencil and Eraser for Sketching
Many calligraphy projects begin with a pencil sketch. A harder graphite pencil (2H or H) is best because it creates light marks that are easy to erase. Use it for guidelines, layout planning, and lettering drafts.
A soft white eraser or kneaded eraser is essential for cleanly lifting pencil lines without damaging the paper. Erase lightly to avoid wrinkling or tearing your surface.
Rulers and Guidelines
Calligraphy is built on consistency, and guidelines help maintain letter height, spacing, and angle. Use a ruler to create straight guidelines on your paper. You can also print out or purchase guideline sheets designed for calligraphy styles like Copperplate, Italic, or Brush Script.
For brush lettering, slanted guides can help keep your baseline consistent while adding stylistic flair to your script.
A Comfortable Workspace
A quiet, well-lit workspace can make a major difference in your progress. Make sure your table is at a comfortable height and that you can sit with good posture. Keep your materials organized and within easy reach.
Use a slanted writing surface or desk easel if you’re working with traditional dip pens. The angle helps control ink flow and improves wrist movement.
Optional But Helpful Extras
As you grow, consider adding the following tools to your kit:
- Lightbox: For tracing practice sheets or refining designs without marking your original paper.
- Water brush pens: Ideal for watercolor calligraphy or blending ink colors.
- Ink droppers or pipettes: To transfer ink cleanly from bottle to container.
- Pen holder variety: Straight holders for upright styles, oblique holders for slanted scripts.
Building Your Toolkit with Intention
You don’t need a drawer full of expensive supplies to start learning calligraphy. A few quality tools and consistent practice go a long way. Start with the basics, explore one script or style at a time, and upgrade your materials gradually as your skills improve. Focus on mastering control, rhythm, and form before chasing complex tools.